 Pin it
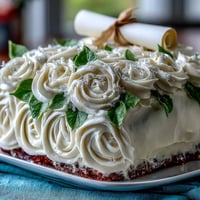
 There&aposs something delightfully ceremonial about making a cake this size—it transforms a kitchen into a celebration zone faster than almost anything else. The day I first tried my hand at a sage green and gold graduation sheet cake, the kitchen pulsed with both nervous energy and the sweet whir of the mixer. The scent of vanilla drifted through the air as I double-checked the details—hoping not to smear gold dust on my favorite apron. I was secretly excited at the idea of buttercream in elegant greens with a shimmer of gold, a little fancier than my usual baking escapades. By the time the cake was out of the oven, it already felt like the party had started.
One early summer afternoon, as sunlight poured through open windows, I whipped up this cake for a friend&aposs impromptu graduation picnic. The buttercream kept trying to soften in the warmth, making for a few messy but hilarious moments as we raced the clock to get the gold accents just right. There was laughter, re-piping, and a moment when my piping bag literally burst—somehow adding charm to the final display. We set the finished cake on a makeshift table outside, and in that moment, perfection was the last thing on anyone&aposs mind. It became a cake about celebration, color, and connection more than anything else.
Ingredients
- All-purpose flour: Sift it for a lighter crumb, and don&apost worry if it looks a little messy while mixing—it always comes together.
- Baking powder: This helps the cake rise tall, so always use fresh for a fluffy texture.
- Salt: Just a hint brights up all the flavors, don&apost skip it.
- Unsalted butter: Room temperature makes it effortless to cream, so set it out in advance.
- Granulated sugar: Creaming with butter gets you that truly tender crumb.
- Large eggs: They add richness; crack each into a bowl first to avoid mishaps.
- Pure vanilla extract: The backbone of your cake&aposs aroma—don&apost be tempted by artificial versions here.
- Whole milk: It loosens the batter for easy spreading without making it too runny.
- Powdered sugar: Sifted is key for a smooth, pillowy buttercream.
- Heavy cream or milk: Adds just the right amount of silkiness—adjust by spoonfuls until it spreads beautifully.
- Sage green gel food coloring: Gel solves streaks and gives that elegant, unique gradation—start with a toothpick swirl.
- Gold edible luster dust: Turns simple piping into celebration-worthy sparkles; mix carefully with a drop of clear extract or vodka for best shine.
- Gold sprinkles or graduation-themed decorations: Personalize it for your grad and let them help if you&aposre up for a little fun.
Tired of Takeout? 🥡
Get 10 meals you can make faster than delivery arrives. Seriously.
One email. No spam. Unsubscribe anytime.
Instructions
- Prep your pan:
- Grease and line your 12x18 inch sheet cake pan with parchment paper, making sure the corners are smooth so you get easy release later.
- Whisk the dry:
- Combine flour, baking powder, and salt, and take a second to appreciate the soft whoosh as you whisk—it&aposs oddly satisfying.
- Cream butter and sugar:
- Beat until the mixture is pale and fluffy; you should see trails form in the bowl and feel a bit proud.
- Add the eggs and vanilla:
- Mixing one egg at a time, watch as the batter gets silkier with each addition before stirring in the vanilla.
- Bring together the batter:
- Add the flour in three parts, alternating with milk, and mix just until combined—the batter will feel lush and soft, but try not to over-mix.
- Bake and cool:
- Spread the batter evenly and bake 28–32 minutes; your kitchen will smell like a bakery. Let the cake cool completely in the pan for easy frosting.
- Make the buttercream:
- Beat butter until creamy, then gradually add powdered sugar—don&apost rush or you&aposs guaranteed a sugar cloud—followed by vanilla, salt, and cream to desired spreadability.
- Tint and reserve:
- Dye most of the buttercream sage green. Reserve half a cup for those showstopping gold touches.
- Frost generously:
- Spread buttercream over the cooled cake, and don&apost stress about absolute perfection—gentle swirls look beautiful.
- Gold details:
- Paint luster dust mixed with a few drops of clear vanilla or vodka onto piped accents, or swirl it into buttercream for a marbled shimmer—your creativity rules here.
- Decorate and celebrate:
- Finish with gold sprinkles, graduation-themed piping, or edible caps. Step back and let the compliments roll in.
 Pin it
  Pin it
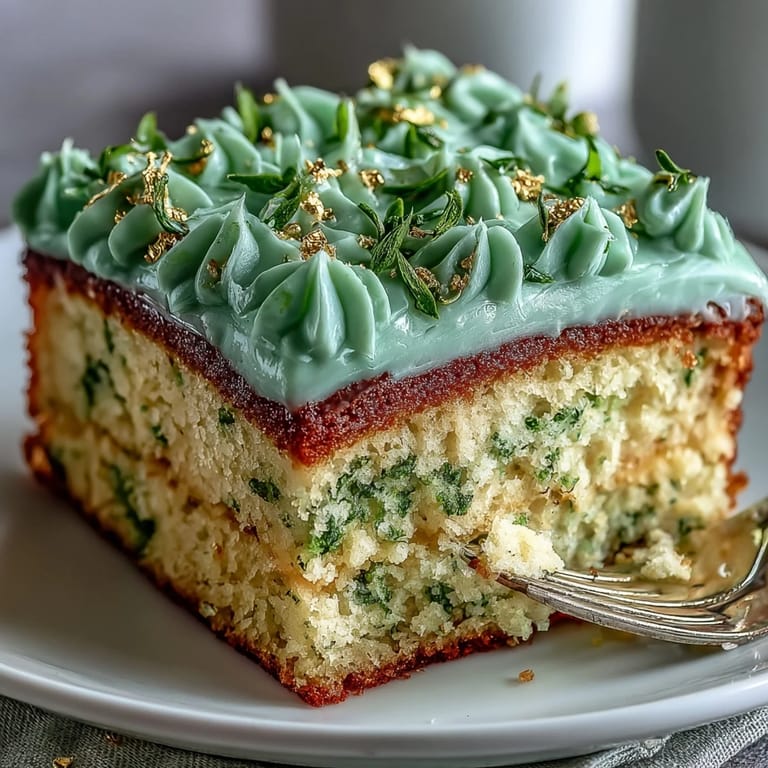
 The first time my little cousin spotted her name piped in gold, she ran around the backyard showing everyone her slice and grinning ear to ear. In a way, the cake became a centerpiece not just of the table, but of the memory itself.
The Art of Buttercream Tinting
Learning to mix the perfect sage green was its own adventure—just a pinch of this gel, a dab of that, swirling together patiently to dodge any color streaks. If you add the color in small amounts and let it rest, the shade deepens naturally and matches that subtle, modern celebration vibe perfectly.
Gold Accents That Pop
Using a food-safe paintbrush for the gold details made me feel like an artist, even though I had gold dust on my nose by the end. Mixing the luster dust with clear extract gives a bolder shine without adding liquid to the frosting—definitely worth the little extra step.
Serving & Storage Strategies
If you chill the cake before slicing, those squares turn out impressively tidy and easier to serve at big gatherings. A little patience helps the buttercream set, and leftovers are actually just as tasty the next day.
- Store covered in the fridge for up to three days.
- Let slices come to room temperature before serving for the softest texture.
- Refrigerated buttercream can be whipped to re-fluff if needed.
 Pin it
  Pin it
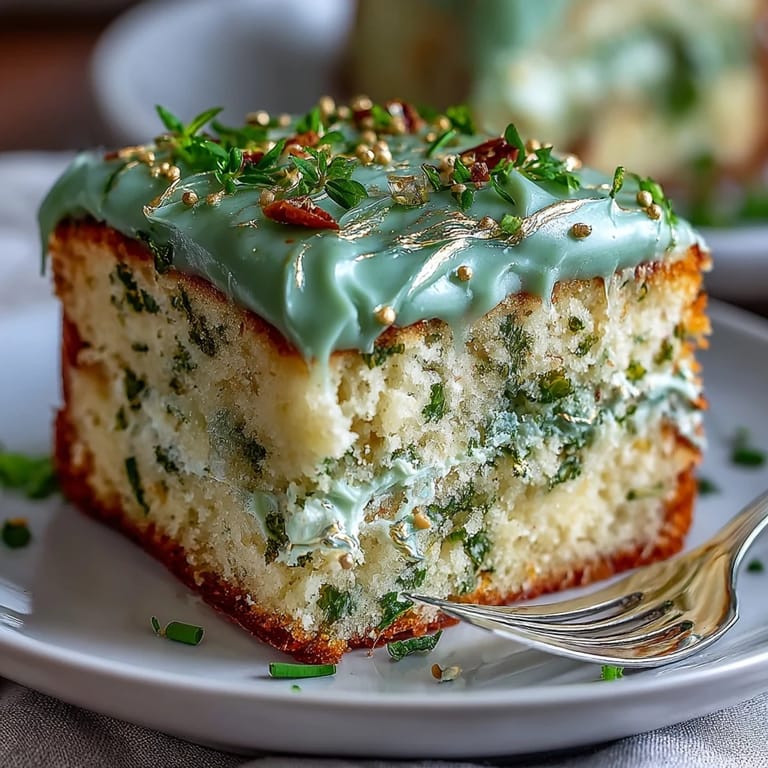
 This cake is more than a centerpiece—it&aposs a sweet sendoff to new beginnings, meant to be shared and celebrated. Here&aposs to many milestone moments (and a little gold on your hands).
Recipe FAQs
- → How do I get an even sage-green color in buttercream?
Use gel food coloring for vibrant hue without thinning the frosting. Add a little at a time, mixing thoroughly between additions. Start with a small amount, as green deepens quickly; adjust with tiny drops until you reach the desired sage tone.
- → How can I keep the sheet cake moist?
Bring eggs, butter, and milk to room temperature before mixing, and avoid overmixing once the flour is added. Bake until a toothpick comes out clean but not overly dry—typically 28–32 minutes in a 12×18" pan. Let the cake cool completely in the pan for even texture.
- → What’s the best way to create gold accents?
Mix edible gold luster dust with a few drops of clear vanilla extract or vodka to form a paint, then brush onto reserved buttercream piping or directly onto the surface. Alternatively, fold luster dust into the reserved buttercream for a marbled or spreadable gold effect.
- → Can I make components ahead of time?
Yes—bake and cool the cake, then wrap tightly and refrigerate up to 2 days or freeze for longer storage. Prepare buttercream and keep airtight in the fridge; bring to room temperature and rewhip before using. Frosted cake keeps best chilled and should be brought to room temperature before serving.
- → How do I adapt this for gluten-free diets?
Swap a 1:1 gluten-free flour blend for the all-purpose flour, noting texture may be slightly different. Use blends that contain xanthan gum or add a binder if needed. Monitor bake time, as gluten-free batters can brown differently.
- → Tips for cleanly slicing neat squares?
Chill the frosted cake for at least 30 minutes to firm the buttercream. Use a hot, sharp knife—wipe the blade between cuts—and measure guides if uniform squares are needed. A quick dip of the knife in hot water helps achieve smooth edges.